In today’s digital era, laptops have become an essential tool for work, entertainment, and communication. They offer convenience and portability, allowing us to carry our work and entertainment with us wherever we go. However, sometimes we may need to connect external devices to our laptops to enhance our experience or extend the functionality of our devices.
Whether you want to connect a printer, an external monitor, a keyboard, or any other peripheral device to your laptop, knowing how to do it correctly is crucial. In this article, we will guide you through the process of connecting external devices to your laptop, providing you with useful tips and step-by-step instructions to ensure a seamless connection every time.
Understanding the ports on your laptop
When it comes to connecting external devices to your laptop, understanding the different ports available is essential. Each port has its own function and compatibility, and knowing how to use them can greatly enhance your laptop’s versatility and functionality. In this article, we will provide a comprehensive guide to help you understand the ports on your laptop and how to connect external devices to them.
1. USB Ports
USB ports are the most common ports found on laptops. They are versatile and can be used to connect various devices such as flash drives, external hard drives, printers, and mice. Most laptops have multiple USB ports, usually of the USB Type-A or USB Type-C variant. USB Type-C ports offer faster data transfer speeds and can also support video and audio output.
2. HDMI Port
The HDMI (High-Definition Multimedia Interface) port allows you to connect your laptop to an external display or TV. With HDMI, you can enjoy high-quality audio and video output, making it ideal for presentations, gaming, or watching movies on a larger screen. Many laptops nowadays come with an HDMI port, enabling you to easily connect to a wide range of multimedia devices.
3. Ethernet Port
The Ethernet port, also known as the LAN (Local Area Network) port, allows you to connect your laptop to a wired network. This is useful when you need a stable and faster internet connection. It is commonly used in office environments or when Wi-Fi is not available. Simply connect an Ethernet cable from your laptop to a router or modem to establish a wired connection.
4. Audio Jack
An important port for audio enthusiasts, the audio jack lets you connect headphones, speakers, or other audio devices to your laptop for high-quality sound output. Most laptops have a 3.5mm audio jack, which is compatible with standard headphones and speakers. Some laptops also have a separate mic-in jack for connecting external microphones.
5. SD Card Slot
If you frequently use SD cards for storage or to transfer files, having an SD card slot on your laptop can be handy. This slot allows you to insert an SD card directly into your laptop without the need for an external card reader. It is commonly used by photographers, videographers, and users who work with large media files.
By understanding the ports on your laptop and their functionalities, you can easily connect and use external devices to enhance your laptop experience. Whether it’s for data transfer, audio and video output, networking, or expanding storage, knowing how to utilize these ports can greatly improve your productivity and entertainment options.
Step-by-step guide to connecting external devices

If you want to connect external devices to your laptop, follow these simple steps:
Step 1: Check the available ports
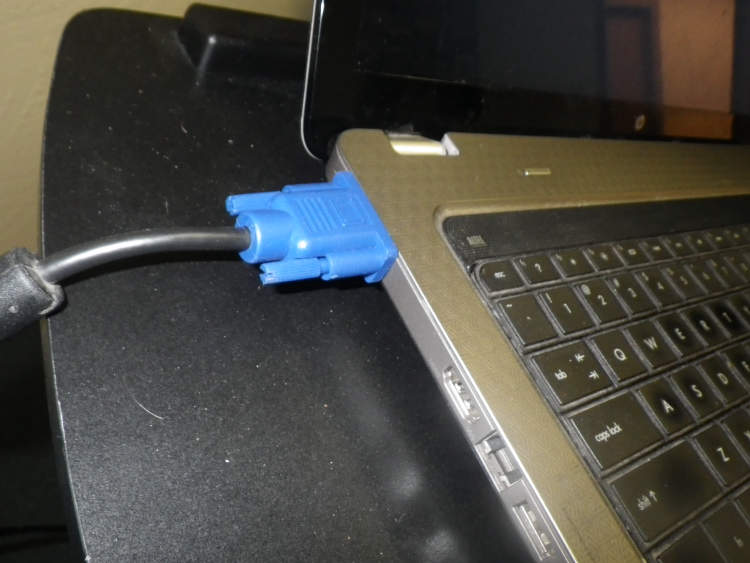
Before connecting any external device, make sure to check the available ports on your laptop. Common ports include USB, HDMI, VGA, and Thunderbolt. Different laptops may have different port configurations, so consult your laptop’s user manual if needed.
Step 2: Gather the necessary cables
Depending on the device you want to connect, gather the necessary cables. For example, if you’re connecting a USB device, you’ll need a USB cable. If you’re connecting a monitor, you may need an HDMI or VGA cable.
Step 3: Connect the cables
Connect one end of the cable to the external device and the other end to the corresponding port on your laptop. Ensure that the connections are secure.
Step 4: Install drivers (if required)
Sometimes, specific devices may require you to install drivers on your laptop. If prompted, follow the on-screen instructions to install the necessary drivers. You can usually find the drivers on the manufacturer’s website.
Step 5: Configure settings (if necessary)
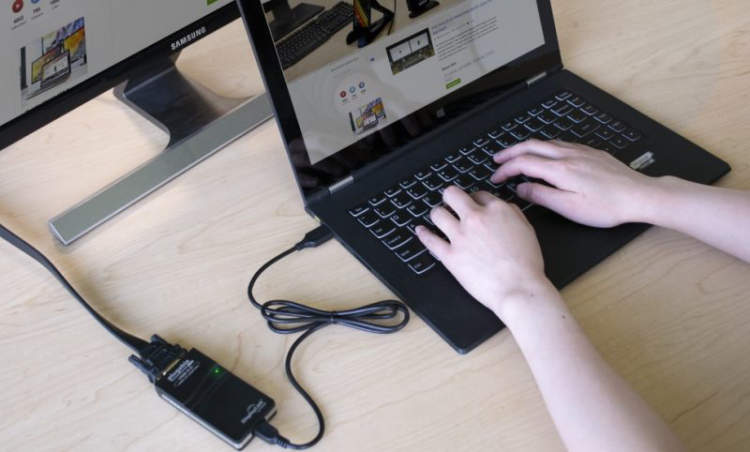
After connecting the external device, you may need to configure some settings on your laptop. For example, if you connected a second monitor, you might need to adjust the display settings to extend or duplicate your screen.
Step 6: Test the connection
Once everything is connected and configured, it’s time to test the connection. Check if the external device is recognized by your laptop and ensure that it is functioning correctly.
Step 7: Enjoy your expanded capabilities
Congratulations! You have successfully connected an external device to your laptop. Now you can enjoy the expanded capabilities and features provided by the connected device.
Troubleshooting common issues
When connecting external devices to a laptop, you may come across some common issues. Here are some troubleshooting tips to help you resolve them:
No device detected
If your laptop is not detecting the external device, follow these steps:
- Make sure the device is properly connected to the laptop.
- Check if the device requires drivers to be installed. If so, download and install the appropriate drivers from the manufacturer’s website.
- Restart your laptop and try connecting the device again.
- If none of the above steps work, try connecting the device to a different laptop or computer to check if the issue lies with the device itself.
Device not recognized
In case your laptop recognizes the device but shows an error message stating “Device not recognized,” try the following troubleshooting steps:
- Disconnect the device and restart your laptop.
- Ensure that the device is compatible with your laptop’s operating system.
- Try connecting the device to a different USB port on your laptop.
- If the device requires a power source, make sure it is properly connected and turned on.
- Update the device’s firmware if available.
- If none of the above steps work, it is recommended to contact the manufacturer for further assistance.
Slow transfer speed
Are you experiencing slow transfer speeds when connecting external devices to your laptop? The following steps can help improve the speed:
- Ensure that both your laptop and the external device are using USB 3.0 or higher ports for faster data transfer.
- Clean up your laptop’s storage by deleting unnecessary files to free up space. This can help improve transfer speeds.
- Check if there are any background processes or applications consuming significant resources. Close them to allocate more power for data transfer.
- Update the drivers for both your laptop and the external device to the latest versions.
- If none of the above steps work, try using a different USB cable or an alternate method of transferring data (e.g., Wi-Fi, Ethernet).
Conclusion
Connecting external devices to a laptop can greatly enhance its functionality and productivity. By following the steps mentioned in this article, users can easily connect various devices such as monitors, smartphones, printers, and storage devices to their laptops.
It is important to remember that each device has its own specifications and requirements for connection. Users should thoroughly read the user manuals and documentation provided with their devices to ensure proper compatibility and connectivity. Additionally, keeping the laptop’s operating system and drivers up to date can help in seamlessly connecting external devices.

