In today’s digital age, laptops have become an essential tool for work, education, and entertainment. One feature that allows users to personalize their laptops is the ability to configure and customize desktop icons. In this article, we will explore some simple yet effective ways to enhance the appearance and functionality of your laptop’s desktop icons.
First and foremost, it is important to understand the basic configuration options available for desktop icons. Most operating systems offer the ability to resize icons, change their position on the screen, and even hide or show specific icons. By right-clicking on the desktop and accessing the “View” or “Personalize” options, you can easily adjust these settings to suit your preferences.
[Introduction]
Configuring and customizing the desktop icons on your laptop can enhance your productivity and personalization. With a few simple steps, you can organize and personalize your desktop to suit your needs and preferences.
Configuring Laptop Desktop Icons

Laptop desktop icons can be customized and configured to suit your preferences. By making some simple changes, you can organize and personalize the icons on your laptop’s desktop. Here are some tips on how to configure and customize laptop desktop icons:
1. Rearrange Icons
You can easily rearrange the icons on your laptop’s desktop by simply dragging and dropping them. This allows you to place frequently used icons in a convenient location for easy access.
2. Resize Icons
If you find the desktop icons too small or too large, you can resize them to a size that is comfortable for you. Right-click on the desktop, select “View” and then choose from the available icon size options.
3. Create Folders
To keep your desktop organized, you can create folders and group related icons together. Right-click on the desktop, select “New” and then choose “Folder.” Give the folder a suitable name and drag and drop the relevant icons into it.
4. Remove Unused Icons
If there are icons on your laptop’s desktop that you rarely or never use, it’s a good idea to remove them. Right-click on the icon and select “Delete” or “Remove.” This helps keep your desktop clutter-free and makes it easier to find the icons you actually need.
5. Change Icon Appearance
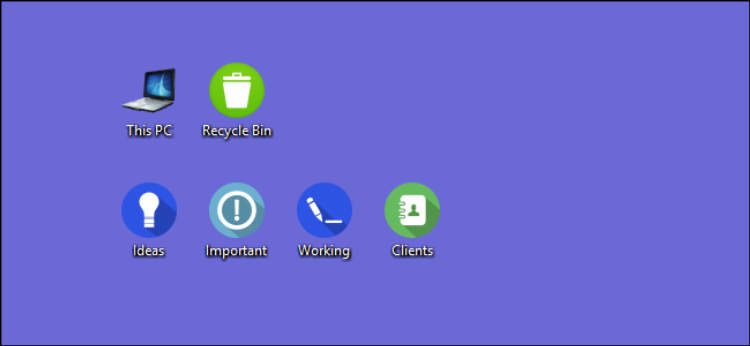
You can also change the appearance of desktop icons to make them more visually appealing. Right-click on the desktop, select “Properties,” go to the “Themes” tab, and click on “Desktop Icon Settings.” From there, you can choose different icons or even customize your own.
6. Restore Default Icons
If you have made changes to your laptop’s desktop icons and want to revert back to the default settings, you can easily do so. Right-click on the desktop, select “View” and then click on “Restore Default Icon Settings.” This will restore the original icons that came with your laptop.
By following these simple steps, you can configure and customize the desktop icons on your laptop to create a personalized and organized workspace.
Customizing Laptop Desktop Icons
Learn how to configure and personalize your laptop’s desktop icons with these easy steps.
1. Changing Icon Size
One way to customize your laptop desktop icons is by adjusting their size. Right-click on your desktop and select “View” to access the icon size options. Choose a size that suits your preference.
2. Rearranging Icons
If you want to organize your desktop icons in a specific order, simply click and drag them to their desired locations. This allows you to create a customized layout that makes navigation easier.
3. Creating Folders
To declutter your desktop, consider creating folders for similar types of icons. Right-click on your desktop, go to “New,” and select “Folder.” Give the folder a name and then drag and drop relevant icons into it. This way, you can keep your desktop neat and organized.
4. Changing Icon Images
If you want to give your desktop icons a unique look, you can change their images. Right-click on an icon, select “Properties,” and go to the “Shortcut” tab. Click on the “Change Icon” button and browse for an image file you want to use. Once selected, click “OK” to apply the new icon image.
5. Using Custom Icon Packs
To further customize your laptop desktop icons, you can download and use custom icon packs. These packs offer a wide range of different icons to choose from. After downloading an icon pack, you can easily apply them by right-clicking on an icon, selecting “Properties,” and going to the “Shortcut” tab. Click on the “Change Icon” button and browse for the downloaded icon pack.
6. Restoring Default Icons
If you ever want to revert back to the default icons, you can easily do so. Right-click on the desktop, go to “View,” and click on “Use Default Icons.” This will reset all your desktop icons to their original appearance.
Conclusion
Customizing your laptop desktop icons allows you to personalize your user experience and make your computer more visually appealing. By following these simple steps, you can easily configure and customize your laptop’s desktop icons to suit your preferences.
Conclusion
Customizing and configuring desktop icons on your laptop can greatly enhance your user experience and productivity. By following the steps mentioned in this article, you can make your desktop visually appealing and organized according to your preferences.
Taking advantage of the built-in customization options in your operating system allows you to change the icon appearance, size, and position on the screen. Additionally, creating personalized shortcuts and grouping similar icons can make accessing your frequently used applications and files much more convenient.

