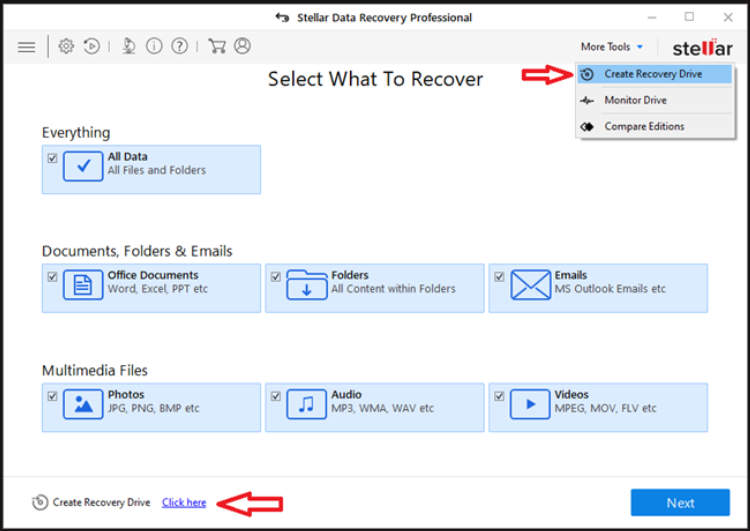
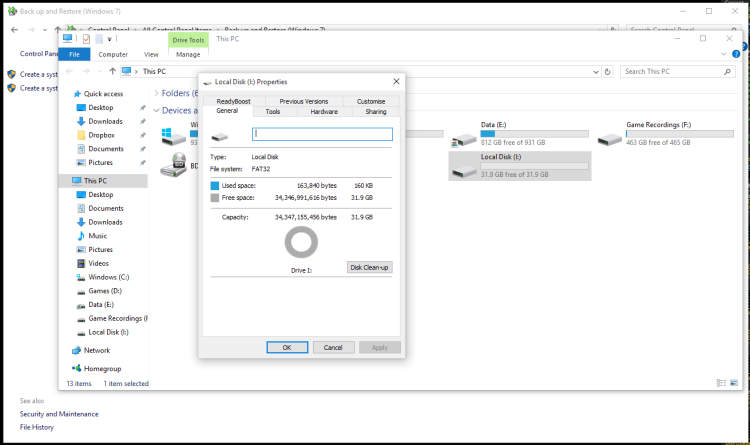
A recovery drive is a useful tool to have for any laptop. It allows you to restore and troubleshoot your operating system easily. Creating a recovery drive is a straightforward process that can save you a lot of time and effort in the long run.
To create a recovery drive for your laptop, you will need a USB flash drive with enough storage capacity. It should be at least 16 GB to accommodate the necessary files. Once you have the USB drive ready, you can follow a few simple steps to create your recovery drive and ensure that you have a backup plan in place for any unforeseen issues that may arise.
What is a recovery drive?
A recovery drive is a USB drive or an external hard drive that contains a copy of your laptop’s operating system and system recovery tools. It is used to troubleshoot and fix problems with your laptop, such as software crashes, malware infections, or system errors.
Having a recovery drive is crucial, as it allows you to restore your laptop to its original factory settings if something goes wrong. It essentially serves as a safety net, protecting your important data and allowing you to easily recover your laptop’s functionality.
Creating a recovery drive is a simple and straightforward process that every laptop owner should consider. By having a recovery drive at hand, you can save yourself from potential headaches and avoid the need to contact technical support or even send your laptop to a repair center.
Why do you need a recovery drive?
There are several reasons why having a recovery drive is essential:
- System crashes: If your laptop experiences a severe software crash or becomes unresponsive, a recovery drive can help you restore your operating system and get your laptop up and running again.
- Virus or malware infections: In the unfortunate event that your laptop gets infected with viruses or malware, a recovery drive can help you wipe out the infected files and restore your laptop to a clean state.
- Hard drive failure: If your laptop’s hard drive fails, you may lose all your data and be unable to access your operating system. With a recovery drive, you can reinstall the operating system and recover your data.
- Upgrading your laptop: If you plan to upgrade to a new laptop or sell your current one, having a recovery drive allows you to wipe out your personal data and restore the laptop to its factory settings, ensuring your privacy is protected.
How to create a recovery drive for a laptop
Creating a recovery drive is a fairly simple process that can be done in a few steps:
- Connect a USB drive or external hard drive to your laptop.
- Open the Control Panel and navigate to the “Recovery” or “Backup and Restore” settings.
- Select the option to create a recovery drive.
- Follow the instructions provided by your operating system to create the recovery drive.
- Once the creation is complete, safely eject the drive from your laptop.
It is important to note that creating a recovery drive will erase all the data on the USB drive or external hard drive, so make sure to back up any important files before proceeding.
Having a recovery drive can provide peace of mind and save you from potential headaches when your laptop encounters issues. It is a worthwhile investment of time and effort to ensure your laptop’s functionality and data are protected.
Steps to Create a Recovery Drive for Your Laptop

In this article, we will guide you through the steps to create a recovery drive for your laptop. Having a recovery drive is essential to restore your system in case of a critical error or system failure. Follow the steps below to create your recovery drive:
-
Check Available Storage
Before creating a recovery drive, ensure that you have a USB flash drive with sufficient storage capacity. A 16GB or higher capacity is recommended to accommodate system recovery files.
-
Access Recovery Options
Go to the Windows Start menu and type “Recovery” in the search bar. Open the “Recovery Options” menu and select “Create a recovery drive” to start the recovery drive creation wizard.
-
Prepare the USB Drive
Connect the USB drive to your laptop. Make sure it is empty or does not contain any important data, as it will be formatted during the recovery drive creation process.
-
Create Recovery Drive
Follow the prompts in the recovery drive creation wizard. Select the USB drive you just connected as the target drive for the recovery files. Click “Next” and then “Create” to initiate the process.
-
Wait for Completion
The recovery drive creation process may take several minutes. Be patient and allow it to complete without interruption.
-
Finalizing the Process
After the recovery drive is successfully created, you will be prompted to label it. Provide a meaningful name for the drive and click “Next”. Finally, click “Finish” to complete the process.
Once you have created the recovery drive, store it in a safe place, preferably separate from your laptop. In case of system issues, you can boot from the recovery drive and reinstall or repair your operating system.
Tips for Using a Recovery Drive Effectively
Creating a recovery drive for your laptop is a smart move to ensure you can easily restore your system if something goes wrong. However, just having a recovery drive is not enough. To make the most out of it, here are some tips to follow:
1. Keep Your Recovery Drive Updated
Regularly update your recovery drive to ensure it includes the latest system files and settings. This will maximize its effectiveness and compatibility with your laptop’s operating system.
2. Store Your Recovery Drive in a Safe Place
Make sure to keep your recovery drive in a secure location where it won’t get damaged or misplaced. Ideally, store it in a protective case or drawer to prevent any physical damage.
3. Test Your Recovery Drive
Before you actually need it, it’s a good idea to test your recovery drive to make sure it works properly. Follow the instructions provided by your laptop manufacturer to perform a test restore and verify that all necessary files are included.
4. Create Multiple Copies
Don’t rely solely on one recovery drive. It’s always a good practice to create multiple copies and store them in different locations. This way, if one drive gets lost or damaged, you’ll still have a backup available.
5. Keep Your Recovery Drive Handy
Make it easily accessible whenever you need it. Storing it alongside your laptop or in a designated flash drive pouch can save you time and effort when a system recovery is necessary.
6. Update Your Recovery Drive after System Changes
If you make significant changes to your laptop’s hardware or software, such as upgrading the operating system or replacing the hard drive, remember to update your recovery drive accordingly. This will ensure that it includes the necessary files to restore your system to its new configuration.
7. Understand the Recovery Process
Take the time to familiarize yourself with the steps involved in using a recovery drive. Understand how to access the recovery options and follow the correct procedure to restore your system. This knowledge will give you confidence and save you from any potential mistakes.
8. Regularly Back Up Your Data
While a recovery drive is essential for system recovery, it won’t protect your personal files. Remember to regularly back up your important data to an external storage device or cloud storage service to prevent data loss.
Conclusion
The creation of a recovery drive is an essential step for any laptop user. It provides a safeguard against critical system failures and data loss. By following a few simple steps, you can easily create a recovery drive and ensure the security and stability of your laptop.
Firstly, make sure you have a USB flash drive with sufficient storage capacity. This will be used to store the recovery files. Then, access the recovery drive creation tool on your laptop. This tool can usually be found in the Control Panel or System Settings. Follow the prompts to select your USB drive and begin the creation process. Once completed, you will have a recovery drive that can be used to troubleshoot and restore your laptop in case of emergencies.

