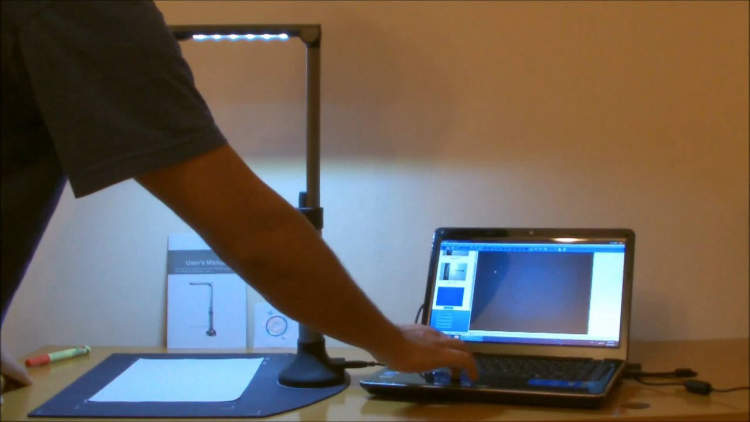
Technology has made it incredibly convenient to go paperless, and one way to accomplish this is by using the camera on your laptop to scan documents. Gone are the days of having to run to the nearest scanner or printer. With just a few simple steps, you can turn your laptop camera into a powerful scanning tool.
Firstly, ensure that your laptop has a built-in camera or an external webcam connected. Open a document scanning app or software that is compatible with your operating system. Some popular options include Adobe Scan, CamScanner, or Microsoft Office Lens. Once the app is open, position the document in front of the camera and make sure it is well-lit. Align the document as straight as possible, and the app will automatically detect the edges and capture the image. You can then save the scanned document as a PDF or image file for easy storage and sharing.
Introduction
In today’s digital era, laptops have become an essential tool for various purposes, including document scanning. Instead of relying on separate scanners or mobile apps, you can conveniently utilize the built-in camera of your laptop for scanning documents. This article will guide you through the process of effectively using your laptop camera for document scanning, saving you time and effort.
Setting Up Your Laptop Camera

Before you can utilize your laptop camera for scanning documents, it’s important to ensure that your camera is properly set up. Follow these steps to get started:
-
Check your laptop specifications
Make sure that your laptop has a built-in camera or a connected external webcam. Check the manufacturer’s website or refer to your laptop’s manual to confirm this information.
-
Install camera drivers
If your laptop camera requires drivers to function, visit the manufacturer’s website and download the appropriate drivers for your operating system. Install the drivers following the provided instructions.
-
Ensure camera access
Some laptops may have camera privacy settings that disable access to the camera by default. Open your laptop’s settings or control panel and locate the Privacy or Camera settings. Enable access to the camera if it’s disabled.
-
Position your laptop camera
Place your laptop on a sturdy surface and adjust the screen to a suitable angle for scanning. Ensure that the camera is facing the documents or objects you want to scan.
-
Adjust camera settings (optional)
If you want to customize camera settings, such as resolution, brightness, or contrast, you can usually do so through the camera application or settings on your laptop. Explore the options and make any desired adjustments.
Scanning Documents Using Your Laptop Camera
Learn how to use your laptop’s built-in camera to efficiently scan documents.
Why Use Your Laptop Camera for Scanning Documents?
Scanning documents can be a tedious task, especially when you don’t have access to a scanner. However, most laptops are equipped with a built-in camera that can serve as a handy alternative for scanning documents. Here’s how you can make the most of it:
Step-by-Step Guide
-
Choose a well-lit area: Find a location with good lighting to ensure your scanned documents are clear and legible.
-
Position the document: Place the document you want to scan on a flat surface, making sure it doesn’t move during the scanning process.
-
Open the camera app: Locate the camera app on your laptop. Most laptops come with pre-installed camera software, but you can also use third-party apps if available.
-
Set the camera to the right mode: Depending on your camera app, you may need to select the “document” or “scanner” mode to optimize the scanning process.
-
Focus and adjust the settings: Ensure the document is in focus by adjusting the camera settings. You may also have options to crop, resize, or enhance the scanned document.
-
Take the photo: Press the capture button or use the designated hotkey to take the photo of the document.
-
Review and save the scan: After capturing the image, review it to ensure clarity and legibility. If satisfied, save the scan to a desired location on your laptop.
Tips for a Better Scanning Experience
-
Use a contrasting background: Place the document on a solid-colored surface that contrasts well with the document to ensure better clarity.
-
Remove excess clutter: Clear any unnecessary objects or debris from the scanning area to prevent distractions in the scanned document.
-
Experiment with camera angles: Try different angles to find the one that captures the document best with minimal distortion.
-
Use editing software: If needed, utilize photo editing software to enhance the scanned document further.
Now that you know how to use your laptop camera for scanning documents, you can save time and effort by eliminating the need for a physical scanner. Give it a try and start scanning your important documents conveniently!
Conclusion
Using your laptop camera as a document scanner can be a convenient and cost-effective solution. It eliminates the need for additional hardware and allows you to scan documents on the go. By following the steps mentioned in this article, you can easily scan your documents using your laptop camera and ensure that they are saved in a digital format.
Although the quality of scanned documents may not be as high as those obtained from a dedicated scanner, it is sufficient for most day-to-day purposes. Additionally, there are various software applications available that can enhance the quality and make necessary adjustments to the scanned documents. So, next time you need to scan a document, give your laptop camera a try!

