Setting up a printer on your laptop can be an essential task, whether you need to print documents or photos. Fortunately, the process of installing a printer on a laptop is relatively simple. In this article, we will walk you through the steps to install a printer on your laptop and get it up and running in no time.
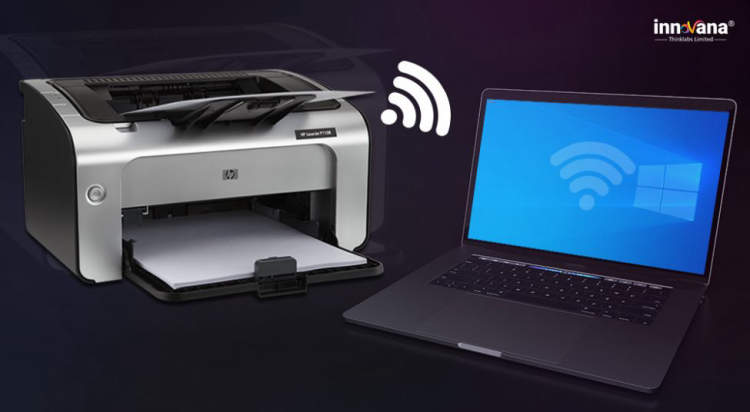
To begin, make sure you have the necessary hardware and drivers. Most printers come with an installation CD or DVD that includes the required software. If you don’t have the installation disc, don’t worry. You can usually download the necessary drivers from the printer manufacturer’s website. Once you have the drivers ready, connect your printer to your laptop using the provided USB cable or wirelessly if your printer supports it.
Preparing for installation
In order to install a printer on your laptop, you need to make some preparations beforehand. This will ensure a smooth and hassle-free installation process. Here are some steps to follow:
Gather necessary information
Before you start the installation, gather the necessary information about your printer, such as the make and model number. This information can usually be found on the printer itself or in the user manual.
Check system requirements
Ensure that your laptop meets the system requirements for the printer. This includes having the right operating system, sufficient disk space, and compatible USB ports.
Download drivers
Visit the manufacturer’s website and download the latest drivers for your printer model. These drivers are essential for the printer to communicate with your laptop.
Prepare USB cable
Make sure you have a USB cable that is compatible with your printer. This cable will be used to connect the printer to your laptop during the installation process.
Clear workspace
Clear a space on your desk or work area for the printer. Remove any obstacles or clutter that may interfere with the installation process.
Connect power source
Plug in the printer’s power cord and connect it to a power source. Ensure that the printer is turned off during the installation process.
Prepare ink or toner cartridges
If your printer requires ink or toner cartridges, make sure they are properly installed and have enough ink or toner to complete the installation.
Ready your laptop
Ensure that your laptop is turned on and functioning properly. Close any unnecessary programs or applications to avoid any conflicts during the installation.
Ready to install
With all the necessary preparations done, you are now ready to proceed with the printer installation on your laptop. Follow the instructions provided by the manufacturer or refer to the user manual for guidance.
Step-by-step guide to installing the printer

In this article, we will provide you with a detailed step-by-step guide on how to install a printer on your laptop. Follow these instructions to ensure a smooth installation process.
Step 1: Check compatibility
Before installing a printer, it is crucial to check the compatibility between your laptop and the printer model. Visit the manufacturer’s website or refer to the printer’s manual for compatibility information.
Step 2: Connect the printer
Connect the printer to your laptop using a USB cable. Make sure both devices are powered on.
Step 3: Install printer drivers
To enable communication between your laptop and the printer, you need to install the required printer drivers. Insert the printer installation CD into your laptop’s CD/DVD drive or download the drivers from the manufacturer’s website.
Step 4: Run the installation wizard
Once the printer drivers are ready, a installation wizard should automatically appear on your screen. Follow the on-screen instructions to complete the installation process.
Step 5: Configure printer settings
After the installation is complete, navigate to the “Devices and Printers” section in your laptop’s Control Panel. Select the newly installed printer and click on “Properties” or “Settings” to configure the printer settings according to your preferences.
Step 6: Test the printer
Before starting to print, it is recommended to test the printer by printing a test page. This will ensure that the installation was successful and the printer is functioning properly.
Step 7: Troubleshoot common issues
If you encounter any issues during the installation process or while using the printer, refer to the printer’s manual or the manufacturer’s website for troubleshooting assistance. Frequently encountered problems include connection errors and printer not responding issues.
By following these step-by-step instructions, you should be able to successfully install a printer on your laptop and start printing your documents and images hassle-free.
Troubleshooting common installation issues
If you are facing difficulties in installing a printer on your laptop, there are a few common issues that you might encounter. Below are some troubleshooting tips to help you overcome these problems:
1. Ensure compatibility
Before installing a printer, make sure to check its compatibility with your laptop’s operating system. Visit the manufacturer’s website or refer to the printer’s manual for system requirements.
2. Install the latest drivers
Outdated or incorrect printer drivers can cause installation problems. Download the latest drivers from the manufacturer’s website and run the installation process following the provided instructions.
3. Check USB connections
Ensure that the USB cable connecting the printer to your laptop is securely plugged in and not damaged. Try using a different USB port or cable if the connection seems unstable.
4. Restart your devices
Sometimes a simple restart can resolve installation issues. Restart both your laptop and printer, and then try the installation process again.
5. Disable firewall or antivirus
Firewalls or antivirus software can sometimes interfere with printer installation. Temporarily disable them to see if it resolves the problem. Remember to enable them again after the installation is complete.
6. Clear print spooler
If you are unable to install the printer due to a stuck print job or print spooler issues, try clearing the print spooler. Open the “Services” settings on your laptop, find the print spooler service, and select the option to stop and start it again.
7. Contact manufacturer support
If none of the above steps resolve the installation issues, reach out to the printer manufacturer’s support team for further assistance. They can provide specialized guidance based on your specific printer model.
Conclusion
Installing a printer on a laptop is a relatively simple process that can be done by following a few easy steps. First, make sure to check the compatibility of the printer with your laptop’s operating system. Then, connect the printer to your laptop using a USB cable or establish a wireless connection. Once the printer is connected, you can proceed to install the necessary software and drivers. Finally, test the printer by printing a test page to ensure that it is functioning properly.
In conclusion, installing a printer on a laptop is a task that can be accomplished by anyone with basic computer skills. With the right equipment and knowledge, you can have your printer up and running in no time. By following the steps outlined in this article, you can easily connect and install a printer on your laptop, allowing you to conveniently print documents and files whenever needed.

